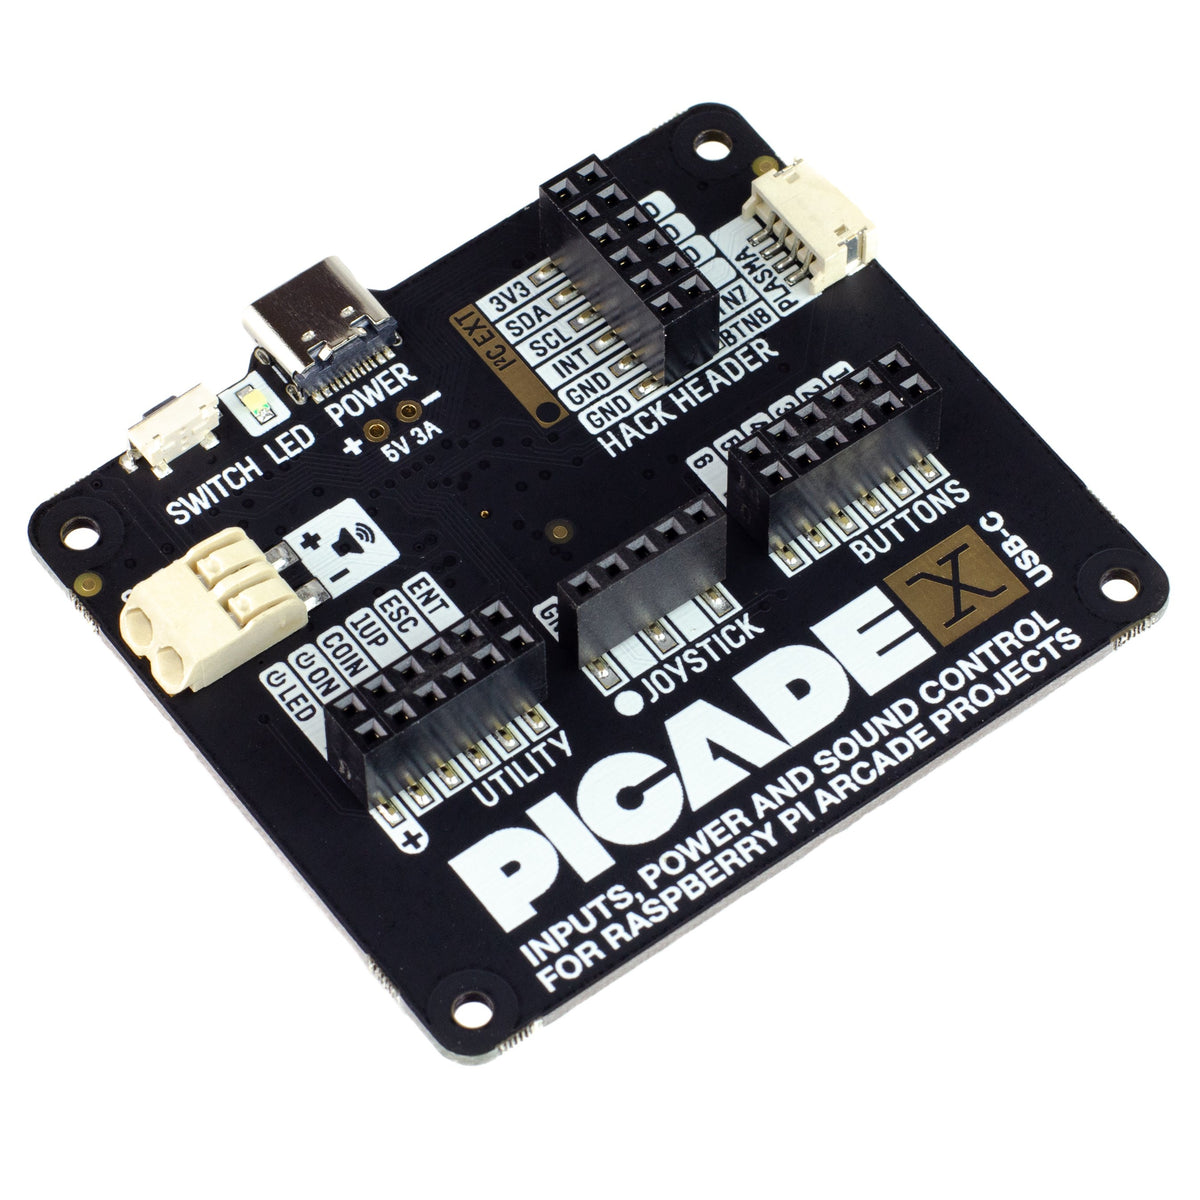
Turn your Raspberry Pi into a retro games console! Picade X HAT includes joystick and button inputs, a 3W I2S DAC/amplifier, and soft power switch. Nice!
Picade X HAT is now Raspberry Pi 4 compatible, with USB-C power!
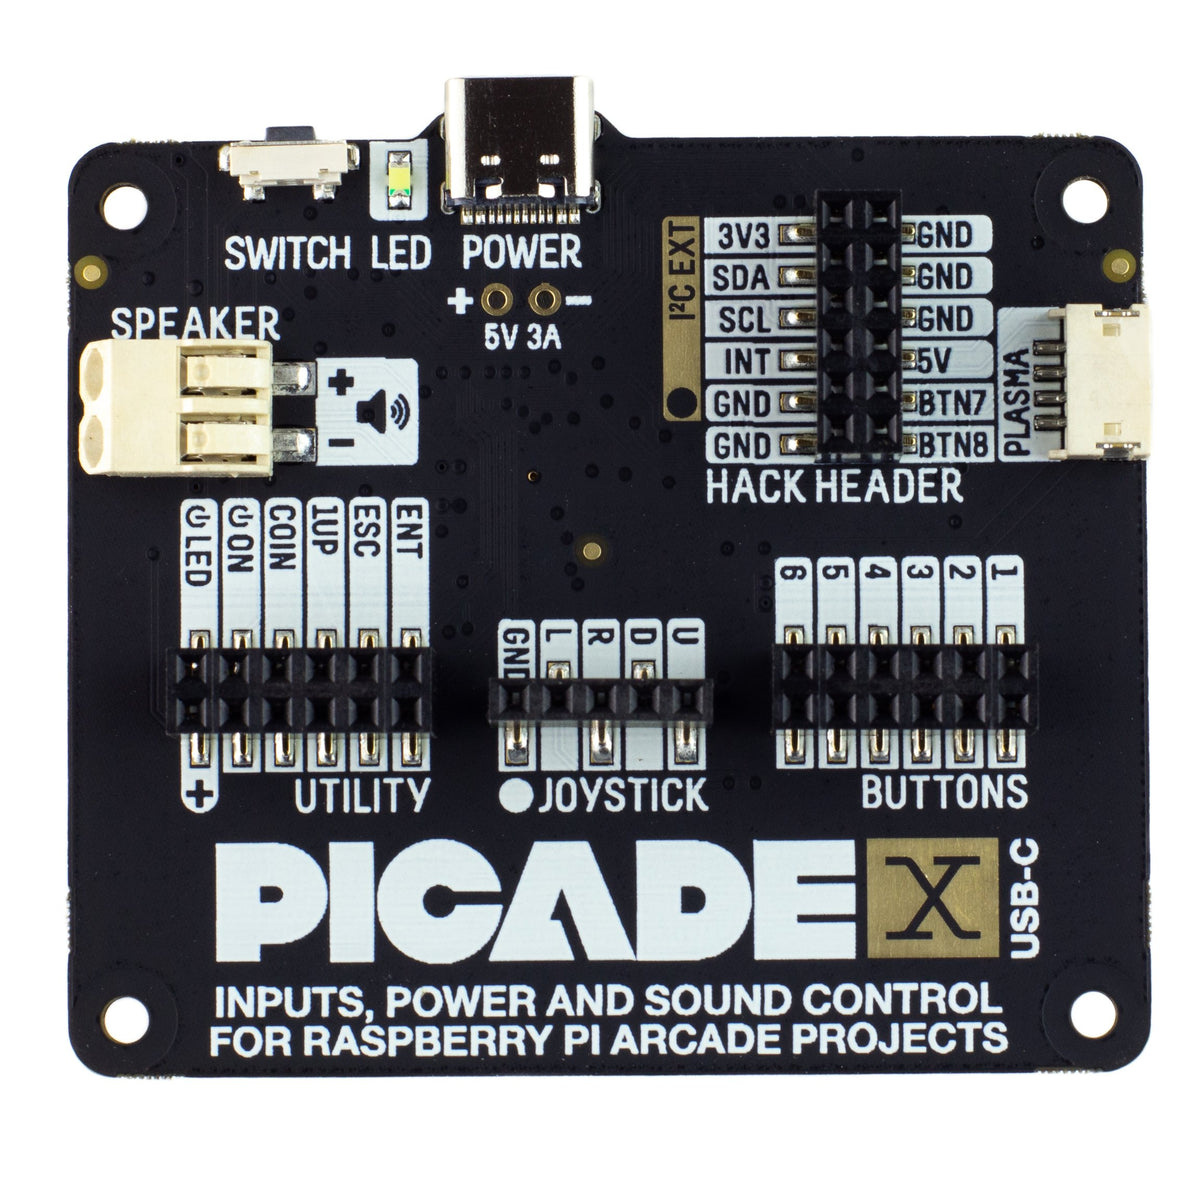
This HAT has all the same great features as the original Picade HAT but now has no-fuss female Dupont connectors to hook up your joystick and buttons.
Simply pop Picade X HAT onto your Pi, plug a USB-C power supply into the connector on the HAT (it back-powers your Pi through the GPIO, so no need for a separate power supply), wire up your controls, and install this driver! It’s ideal for your own DIY arcade cabinet builds, or for interfaces that need big, colourful buttons and sound.
Features
- I2S audio DAC with 3W amplifier (mono) and push-fit terminals
- Safe power on/off system with tactile power button and LED
- USB-C connector for power (back-powers your Pi)
- 4-way digital joystick inputs
- 6x player button inputs
- 4x utility button inputs
- 1x soft power switch input
- 1x power LED output
- Plasma button connector
- Breakout pins for power, I2C, and 2 additional buttons
- Picade X HAT pinout
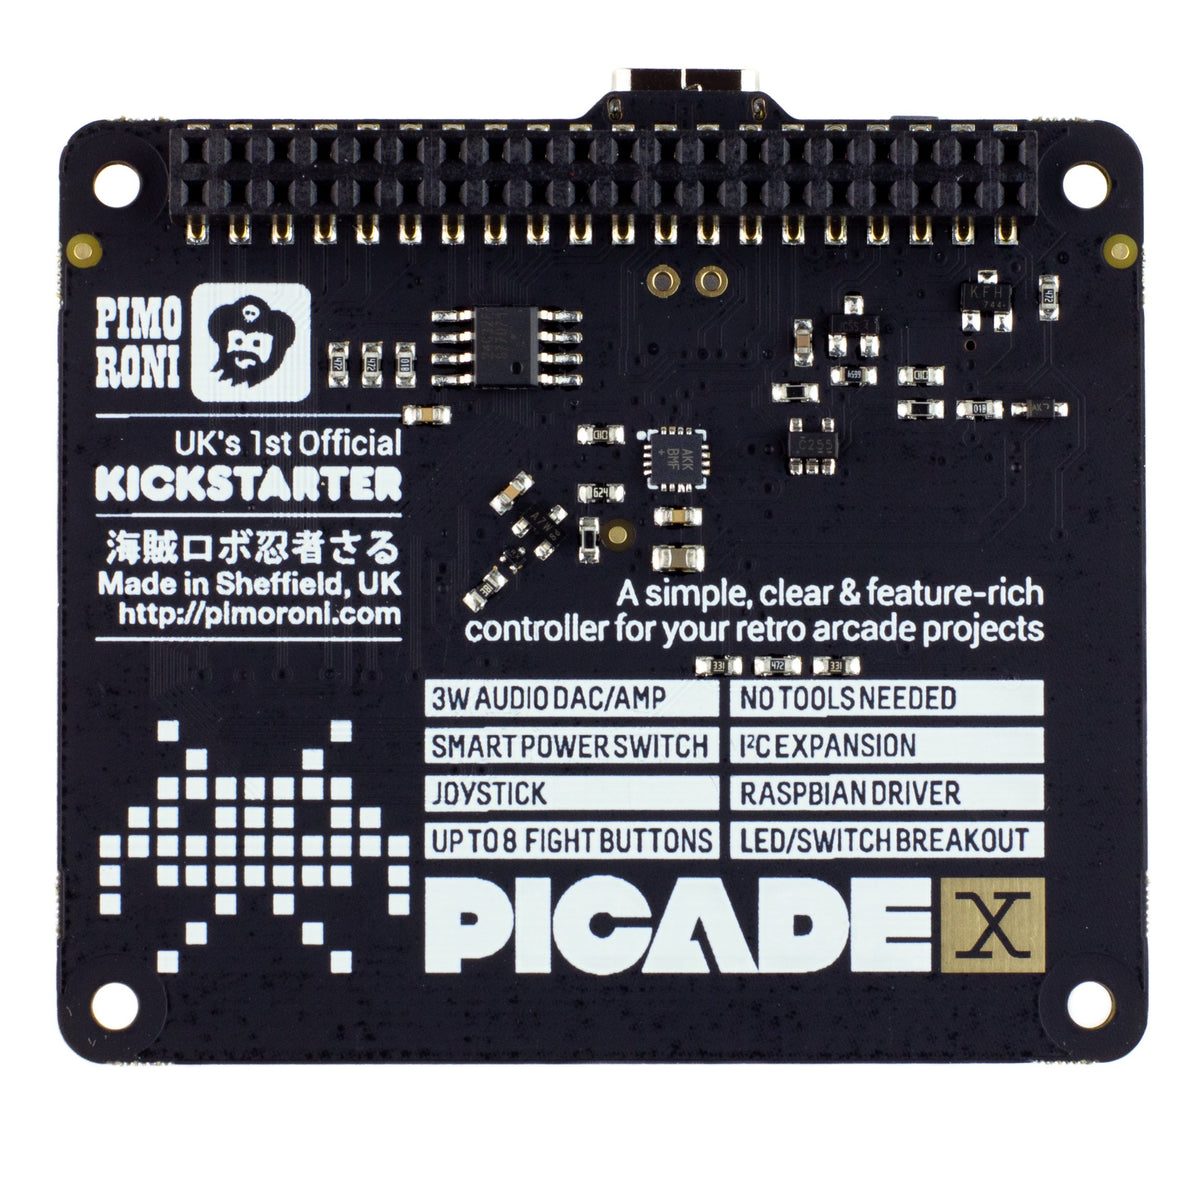
- Compatible with all 40-pin Raspberry Pi models
The I2S DAC blends both channels of digital audio from the Raspberry Pi into a single mono output. This is then passed through a 3W amplifier to power a connected speaker.
The board also features a soft power switch that allows you turn your Pi on and off safely without risk of SD card corruption. Tap the connected button to start up, and press and hold it for 3 seconds to fully shutdown and disconnect power.
Software
Pimoroni have put together a simple one-line installer that’ll get everything set up on your Picade X HAT, the controls, safe shutdown, and audio. Open a terminal and type curl https://get.pimoroni/picadehat | bash to run the installer. You’ll need to reboot once the installation is complete, if it doesn’t prompt you to do so.
The Pimoroni software does not support Raspbian Wheezy
Notes
With USB-C power connected through Picade X HAT you’ll need either to tap the connected power button or the button marked “switch” on the HAT to power on your Pi.
| Type | USB-C |
|---|
Fast Shipping and Professional Packaging
Because of our long-standing partnership with UPS, FedEx, DHL and many other leading global carriers, we can provide various shipping options. Our warehouse staff is highly trained and will pack the items according to our exact and precise specifications. Before shipping, your goods will be thoroughly examined and secured. We deliver to thousands of customers every day from all over the world. This is a sign of our dedication to being the largest online retailer worldwide. There are distribution centers as well as warehouses located in Europe as well as the USA.
Note: Orders with more than one product are assigned a specific processing period dependent on the particular item.
Before shipping, we will examine the items ordered carefully before shipping. The majority of orders are shipped within 48 hours. The time to deliver varies from 3-7 days.
Returns
The stock is constantly changing and cannot be fully controlled by us due to the involvement of many parties including the factory and our warehouse. This means that the actual stock could alter at any time. Be aware that it is possible that your order could be out of stock after you have made the order.
Our policy lasts thirty days. If you haven't received your item within 30 days, we're unable to offer the option of a refund or exchange.
You are able to return an item when it's unopened and is in the same condition as when you first received it. It should also be returned in its original packaging.
